
Deploying MLFlow
Remember kids, the only difference between screwing around and science is writing it down. Adam Savage
Sometimes I’ll do a study or run an experiment and after getting my answer I’m happy to forget the details and move on. Other times, however, I can hammer away at a problem for weeks or months and it becomes all the more important to track incremental progress. You can write versioned text files, which are annoying to coalate, or version a Jupyter notebook that runs tests, although that’s annoying to diff. In situations like this, you like me may want an experiment tracking db.
This is a post about how I set up MLFlow for my home lab. MLFlow isn’t perfect but we use it at work and it’s a nice balance of featureful and simple. Goals of this process were:
- Host it as a container alongside the other containers I run
- Store data in such a way that it’s backed up
- Perform the above reproducibly
(Code for this post is at https://github.com/asteriske/mlflow-self-host)
Technologies I set up first include (but aren’t necessarily limited to)
- Hashicorp Nomad on my main project server
- A docker registry container which can host images for Nomad to draw from
- A NAS which runs ZFS and gets backed up
- Traefik for reverse proxying
- PiHole for local DNS
At this juncture I’m not pointing MLFlow to a standalone database, both because for the level of data I expect to generate SQLite should be fine, and also because it seems unnecessarily hard and boring.
Docker
The first problem I had to solve was getting MLFlow into Docker, because as of this writing there doens’t seem to be any official Docker image to speak of.
Starting from the inside-out, I created a small entrypoint.sh script:
#!/bin/bash
mlflow server \
    --backend-store-uri sqlite:////mnt/backend_store/mlflow.db \
    --default-artifact-root /mnt/artifacts \
    --workers 2 \
    --host 0.0.0.0
The paths will point to backed-up directories on other machines, but for practical purposes here we can think of them as local to the container filesystem. More interestingly, I turn down the workers from default of 4 to 2 to go easier on my container server.
Invoking this, I made a simple Dockerfile:
FROM python:3.10.7-slim-bullseye

WORKDIR /app

COPY requirements.txt .

RUN apt-get update && \
    apt-get upgrade -y && \
    apt-get install build-essential -y

RUN pip install -r requirements.txt

COPY . .

RUN groupadd -g 1000 mlflow_grp && \
    useradd -r -u 1000 -g mlflow_grp mlflow_user --home /home/mlflow_user && \
    chown -R mlflow_user /app

RUN mkdir -p /mnt/backend_store /mnt/artifacts && \
    chown -R mlflow_user /mnt/backend_store && \
    chmod a+rwx -R /mnt/backend_store && \
    chown -R mlflow_user /mnt/artifacts && \
    chmod a+rwx -R /mnt/artifacts && \
    chmod +x entrypoint.sh


ENV PYTHONUNBUFFERED TRUE

ENTRYPOINT ["./entrypoint.sh"]
Nothing fancy here, just creating a local user and group and the necessary directories for storage. MLFlow is simply a pip install so it gets accounted for in the requirements.txt.
It takes me forever to remember syntax so I made myself a small Makefile for deployment:
version = $(file < version.txt)

build:
        docker build -t registry.lan:5000/mlflow:v$(version)

push:
        docker push registry.lan:5000/mlflow:v$(version)

pushlatest:
        docker build -t registry.lan:5000/mlflow:latest .
        docker push registry.lan:5000/mlflow:latest
registry.lan points to my Docker registry container via Traefik reverse proxy. I tried at one point to change the mapping so registry.lan:80 redirected to port 5000 internally, but it caused a problem with my config so it remains explicit for now. Referencing version.txt is a cute trick that does what it appears to - read a version string from a file and bake it into the image when it’s built or pushed.
Deployment
ML experiments of the kind I want to track generally are very hungry both in terms of time and electrons. Having put in the (compute) time it would be a shame to lose the results. For this reason, I’m pointing MLFlow to a network share that gets backed up. Rather than make a docker container responsible for network connections, I’m going to mount the remote shares to the container host.
(This is an NFS share on a ZFS dataset that gets replicated off-site, but that’s beyond the scope of this post.)
I do this by adding an ansible job to create the config and directories on the Nomad client:
- name: Configure MLFlow
  hosts: m700
  remote_user: ansible

  tasks:

  - name: Add mlflow mounts to nomad config
    become: yes
    ansible.builtin.blockinfile:
      path: /opt/nomad/nomad.d/client.hcl
      insertbefore: "}"
      marker_begin: "MLFLOW_BEGIN"
      marker_end: "MLFLOW_END"
      block: |
        host_volume "mlflow-backend-store" {
          path      = "/opt/nomad/data/mlflow/backend"
          read_only = false
        }
        host_volume "mlflow-artifacts" {
          path      = "/opt/nomad/data/mlflow/artifacts"
          read_only = false
        }

  - name: Create volume dirs
    # nogroup is important!
    ansible.builtin.file:
      mode: '0774'
      path: ""
      owner: nomad
      group: root
      recurse: true
      state: directory
    loop:
      - /opt/nomad/data/mlflow/backend
      - /opt/nomad/data/mlflow/artifacts
      - /opt/nomad/jobs/mlflow
    become: yes

  - name: Copy job file
    become: yes
    ansible.builtin.copy:
      force: true
      src: mlflow_job.nomad
      dest: /opt/nomad/jobs/mlflow/mlflow_job.nomad
      owner: nomad
      group: nomad
      mode: u=rw,g=r,o=r

  - name: Restart nomad service
    become: yes
    ansible.builtin.systemd:
      name: nomad
      enabled: yes
      state: restarted
The restart at the end is necessary since the addition of new volumes isn’t loaded by Nomad automatically.
One thing worth noting here is I’m creating directories in /opt/nomad/data. This looks local, but that directory is actually an NFS share.
The Nomad job itself is pretty textbook, with only a few callouts:
- I didn’t change MLFlow’s listening port from 5000, so we’ll let Traefik point port 80 to 5000 internally
- MLFlow takes more memory than I would have guessed, with less than 512mb I found it to be pretty unstable even with simple “Hello World” sorts of tasks
- Since there isn’t a public docker repo for this container, I point it to my own repo at
registry.lan** - The two volumes are loaded as normal container volumes with
volume_mountdirectives.
** I believe you can load containers into Nomad from files now, but where’s the fun in that?
job "mlflow" {
  region = "global"

  datacenters = ["DC0",]

  type = "service"

  group "svc" {
    count = 1

    network {
      port "mlflow_http" { to = 5000}
    }

    volume "mlflow-backend-store" {
      type      = "host"
      source    = "mlflow-backend-store"
      read_only = false
    }

    volume "mlflow-artifacts" {
      type      = "host"
      source    = "mlflow-artifacts"
      read_only = false
    }

    restart {
      attempts = 5
      delay    = "30s"
    }

    task "mlflow_app" {
      driver = "docker"

      config {
        image = "registry.lan:5000/mlflow:latest"

        ports = [ "mlflow_http" ]
      }

      env = {
      }

      resources {
        cpu    = 200
        memory = 512
      }

      service {
          name = "mlflow"
          port = "mlflow_http"

          tags = [
            "traefik.enable=true",
            "traefik.http.routers.mlflow.rule=Host(`mlflow.lan`)",
          ]
        }

      volume_mount {
        volume      = "mlflow-artifacts"
        destination = "/mnt/artifacts"
        read_only   = false
      }

      volume_mount {
        volume      = "mlflow-backend-store"
        destination = "/mnt/backend_store"
        read_only   = false
      }
    }

  }
}
Those are all the pieces. The rest of the deployment is essentially button-pushing:
- Run the ansible playbook to update my Nomad config
- Build and push my MLFlow container
- Push the Nomad job spec and get it running with
nomad job run <jobspec file>
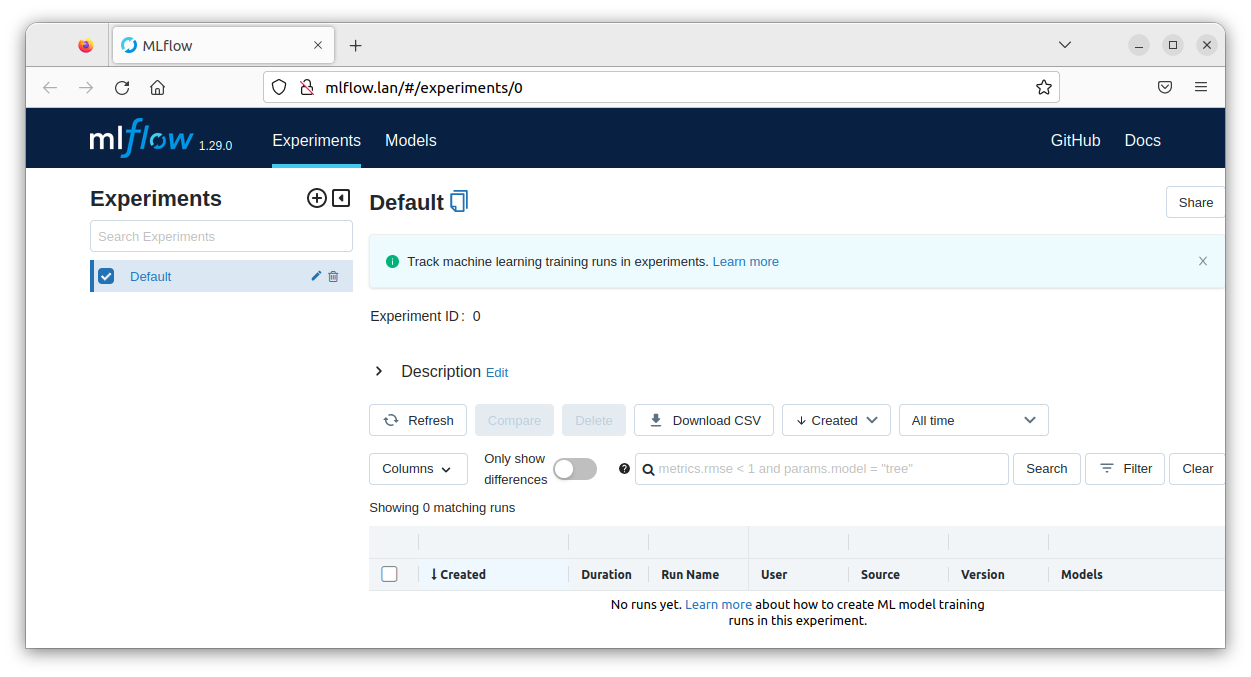
After adding a CNAME entry to my DNS server to match the traefik router line in the nomad job, I’m in business!
Happy hacking!